Simple Start Menu
A downloadable asset pack for Windows

Quick Start Screen for GameMaker Studio 2
You're working on a game jam project. The clock is ticking. You need a working menu. Fast.
Or maybe you're prototyping a new game idea and you just want to get to the fun part without spending hours on menu buttons.
This is for you.
What This Does
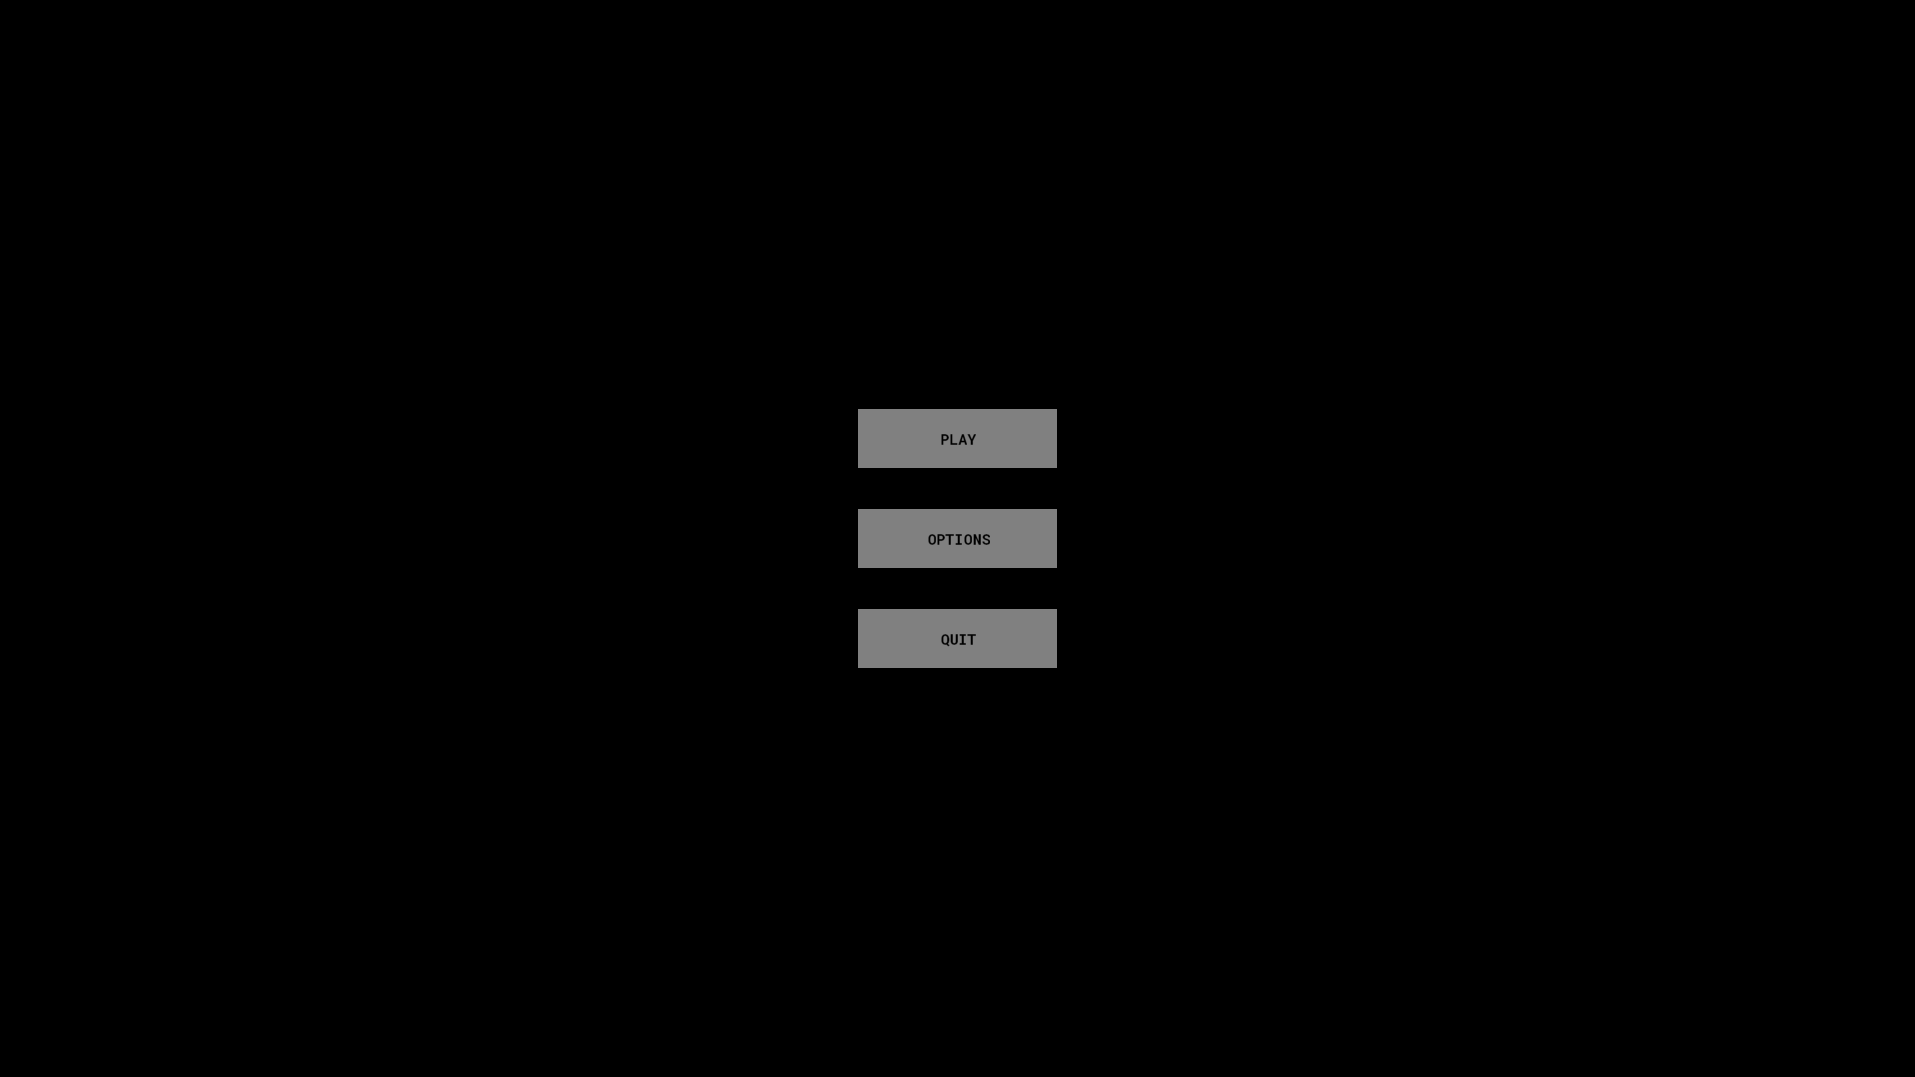
This gives you a complete start screen menu in minutes. Three buttons: Play, Options, and Quit. Background music that plays while you navigate menus. Hover effects and click sounds that make it feel polished.
Everything works right out of the box. No complicated setup. No confusing dependencies. Just import the objects, add your sounds, and you're done.
Why This Exists
I've been there. Game jam starts. You have 48 hours to make something playable. You spend the first three hours fighting with menu code that should take twenty minutes.
This fixes that problem.
Copy the objects into your project. Follow the straightforward setup guide. Ten minutes later you have a working menu and you can get back to building your actual game.
What You Get
Eight pre-made objects that handle everything. Button hover detection, click detection, sound effects, music management, and room transitions. All the code is clean, commented, and easy to read.
The system uses simple parent-child relationships so you can customize it without breaking anything. Change the colors. Adjust the sizes. Add more buttons. It's flexible enough to match your game's style but simple enough that you won't get lost in the code.
Perfect For
Game jams where time matters. Prototypes where you need something functional fast. Learning projects where you want to understand how menu systems work. Any situation where you need a working start screen without the headache.
This isn't trying to be fancy. It's trying to save you time so you can focus on what makes your game unique instead of reinventing the wheel for the hundredth time.
How It Works
Import the objects. Set up three rooms. Add your sound files. Place two controller objects in your menu rooms. Test it. Done.
The included guide walks you through every step. Even if you're new to GameMaker, you can get this running. The code is written in plain English with explanations for what each part does.
What Makes This Different
Most menu systems are either too simple to be useful or too complicated to understand. This sits right in the middle. It's complete enough to actually use in a real project but straightforward enough that you can read through the code and understand what's happening.
No external dependencies. No fancy frameworks. Just solid, working GameMaker code that does exactly what it needs to do.
Free to Use
Take it. Modify it. Use it in commercial projects. No credit required. I made this because I kept rewriting the same menu code for every project and figured other people probably had the same problem.
If this saves you even an hour of work during a game jam, it was worth making.
Download
Click download now to get access to the following files:

Leave a comment
Log in with itch.io to leave a comment.